DIY Weekend Project – Build a Window Planter Box
Building a decorative planter box is a great way to improve the exterior of your home and boost your home’s curb appeal. Designed to hold a variety of planting containers, this one-day DIY Project will hang around for years to come.
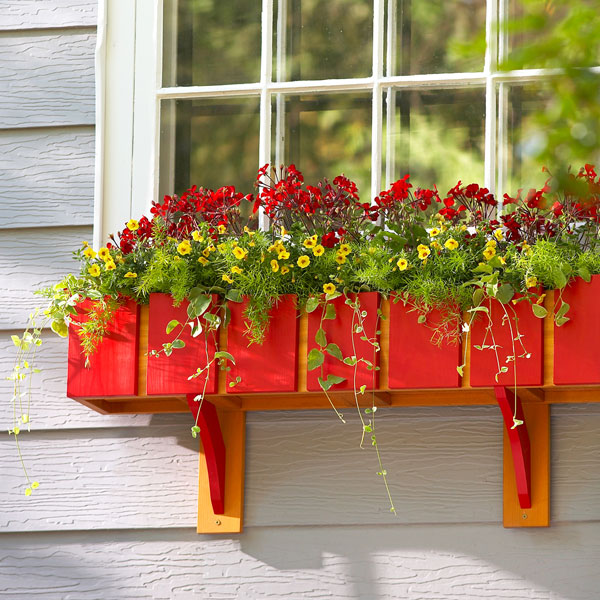
Note: This project is designed for 42” windows. You may need to adjust based on your windows.
> Click here for the Window Box Diagram
> Click here for the Cutting List
Step 1: Lay out the length of the front/back (A), pickets (B), bottom supports (C), ends (D), and bottom (E) on the cedar boards. Cut the parts to length and sand the smooth faces with 120-grit sandpaper; leave the rough surface of the cedar as is.
Step 2: Lay out the pickets, smooth surface down, with the ends aligned. Space the pickets evenly (Drawing 1, Project Diagram). Place the front (A) on the pickets with the edges of the two outside pickets extending 7⁄8″ beyond each end of the front. Drill countersunk pilot holes for the screws and secure the front to the pickets.
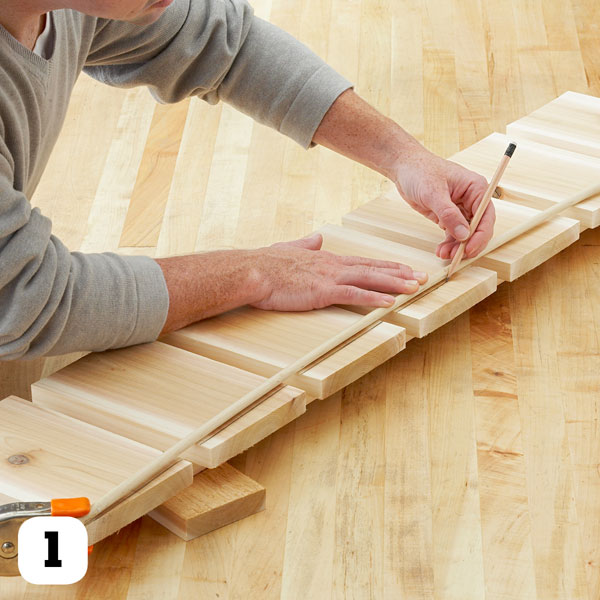
Step 3: Turn the assembled front over. Lay out the lowest point of the arch on the center picket and the high points on the end pickets. Use a bent dowel and some spring clamps to create the arc, and trace the shape with a pencil.
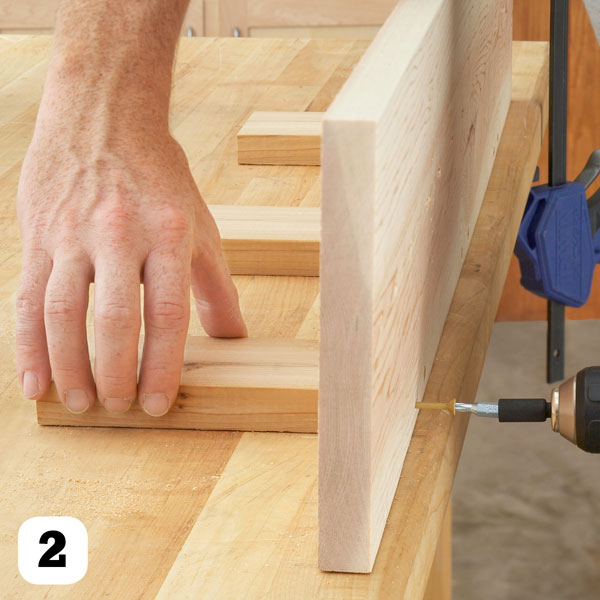
Step 4: Use a jigsaw to cut the pickets to shape, sand the curved edges, and remove the pickets for finishing. Apply primer and two coats of paint to all surfaces of the pickets.
Step 5: Secure the bottom supports (C) to the inside face of the front (A) using glue and screws (Drawing 2, Project Diagram) and.
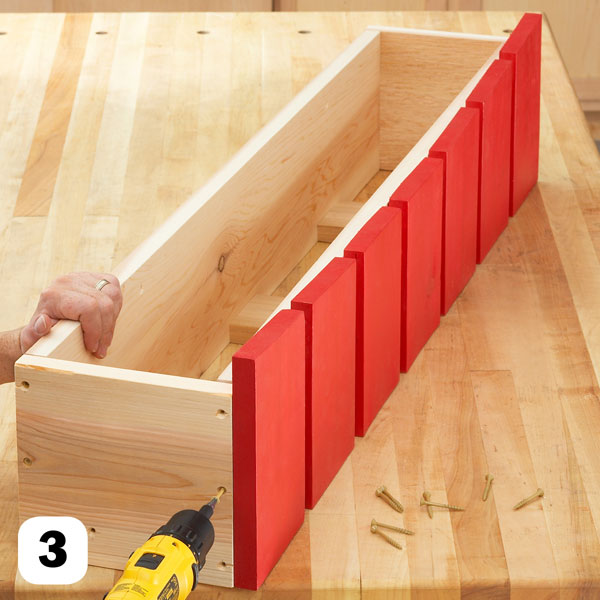
When the paint has dried, reattach the pickets to the front. Use glue and screws to attach the back and both ends to complete the box.
Step 6: Slip the bottom (E) into the box and center it between the front and back. Drive screws through the bottom into the bottom supports to secure the board.
Build the Supports
Step 1: Cut four 1″×4″ boards to length for the brackets (F) and wall cleats (G).
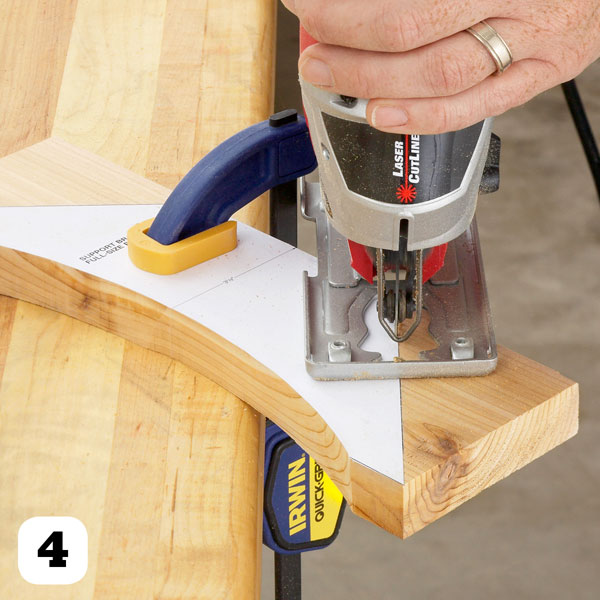
Step 2: Print two copies of the bracket pattern (Support Bracket Full Size Pattern, Project Diagram). Use a spray adhesive to secure the pattern to the bracket blanks. Use a jigsaw to cut the brackets to shape.
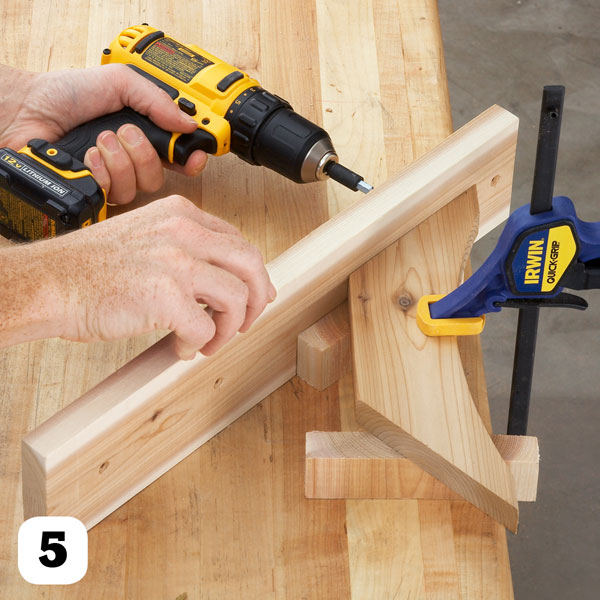
Step 3: Cut two scraps of wood to 1 3⁄8″ in length. Place the scraps under one of the brackets on a work surface, set the wall cleat against the bracket, and attach the cleat to the bracket with screws (Drawing 3, Project Diagram) and. Repeat for the second bracket and wall cleat.
Finish It Up
Step 1: Unscrew the brackets from the wall cleats; paint the brackets with the same primer and paint you used for the pickets, and apply exterior wood stain to the remaining unfinished cedar parts. Re-attach the brackets to the wall cleats.
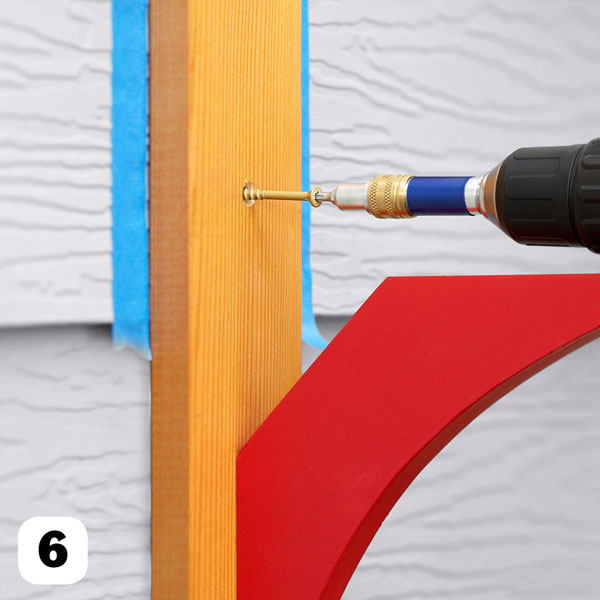
Step 2: Find the center of your window opening, then mark the location of the bracket assemblies; 10 1/4″ to the left and right of the window’s center (Drawing 3, Project Diagram). Use painter’s tape to mark the location. The top of the bracket should be 2″ below the windowsill. Hold the brackets on the wall at your marks and drill pilot holes for the screws through the wall cleats into the wall.
Squeeze silicone sealant into the pilot holes drilled into the siding, set the brackets back into position over the holes, and drive the mounting screws into the house. The silicone will ensure a watertight seal. Different sidings may require different screw selections. A deck screw is great for wood or vinyl siding; brick will require a masonry screw. See a store associate for the right screw selection for your home.
Step 4: Set the window box on the brackets, drill countersunk pilot holes, and drive the 1 5⁄8″ screws through the back into the brackets and wall cleats (Drawing 4, Project Diagram). Load up the plants in your favorite pots and add some color to your home.
Source: Lowe’s Creative Ideas for Home and Garden


