DIY Weekend Project: Build a Herb-Garden Planter
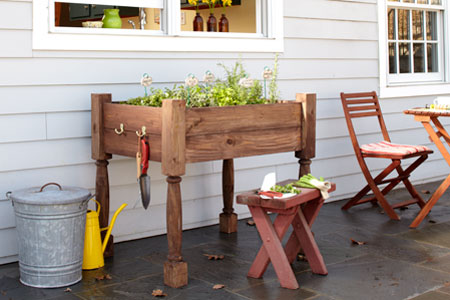
Do you want to grow fresh herbs, but are lacking yard space. Do you have a free afternoon and basic carpentry skills? This Old House general contractor, Tom Silva, has the perfect solution: Build an all-weather raised planter for your porch or patio.

Click here to download the cut list.
1. Cut the Legs to Length
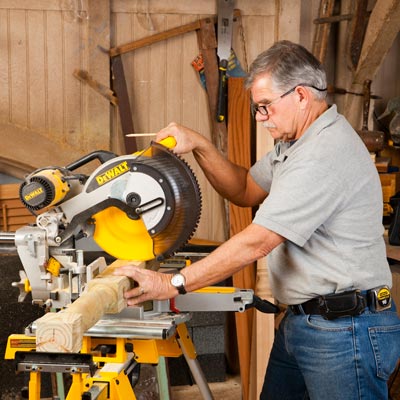
Trim sections off both ends of a deck post to the planter’s height, leaving one end’s square section long enough to attach the planter’s sides. Make the first cut so that the longer square section measured 14½ inches, then marked 36 inches from that cut end and made the second cut. Use the first leg to mark and cut the others as shown.

2. Attach the Cleats
Cut the 1x6s and 2×2 balusters for the planter’s sides and cleats. Screw a 2×2 cleat to the inside surface of two of the longer 1x6s. Position each cleat ½ inch from the board’s bottom edge and center it lengthwise. Drill 3/32-inch pilot holes through the cleats, then secure them with 2-inch deck screws.

3. Build the Sides
The planter’s sides are made from two 16 boards butted edge to edge. Hold them together by fastening 2x2s across the joints with 2-inch deck screws as shown. For each short side, fasten a 2×2 in the center and 2 inches below the top edge to leave room for the liner’s lip. For each long side, use two evenly spaced 2x2s placed against the bottom board’s cleat.

4. Screw on the Corner Blocks
Fasten a 2×2 corner block to each end of all four sides of the planter using 2-inch deck screws. Position the blocks⅛ inch in from the ends and ½ inch up from the bottom edges of the sides. These eight corner blocks provide a solid surface for attaching the legs to the planter and also help hold the sides together.

5. Assemble the Planter
Drill three evenly spaced 3/32-inch pilot holes through each corner block. Align one side’s corner block with the inside corner of one of the legs. Drive 2½-inch screws through the corner block and into the leg. Repeat for the remaining sides and legs as shown.

6. Install the Floorboards
Cut two 1×6 floorboards to span the width of the planter. Set the floorboards onto the cleats roughly equidistant along the planter’s length. Fasten each end of both floorboards to the cleats with a 2-inch deck screw, drilling pilot holes first to reduce the chance of splitting the boards.

7. Drill Drainage Holes in the Liner
Turn the utility tub upside down, and use a drill/driver to bore six or more evenly spaced ⅜-inch-diameter holes through the bottom. These holes are necessary to allow excess water to drain from the soil.

8. Finish the Planter and Attach the Hooks
Apply deck stain to the planter. Once dry, screw hooks to each end of the planter for hanging gardening tools. Set the utility tub in place, add some clean gravel, and fill the planter with soil and your favorite herbs.

Photo Credit: This Old House
Source: This Old House


